

I got a Yogurt Maker from My Husband recently and have been experimenting. I have made plain yogurt with reduced fat milk, plain yogurt with homogenized milk, and strawberry flavored yogurt with homogenized milk. I can tell you today that I prefer making any plain yogurt recipe best and adding my fresh fruit afterwards because in order to add fruit to the recipe before the yogurt cultures requires cooking down the fruit which makes it ugly, gray, and unrecognizable. So, for today's recipe I am making plain yogurt with reduced fat milk.
Tools:
Candy Thermometer
Measuring Cup
Glass Bowl or Pitcher
4-6 qt. Saucepan (that can be used in the oven if you heat your yogurt in oven to culture)
Wisk
Spoon
Funnel (optional)
Yogurt Maker or Oven that can be set for 110-116 degrees F.
Ingredients:
2% milk fat milk (pasteurized)
Plain yogurt from grocery store that states that it includes "active yogurt cultures" My favorites are Lactobacillus Acidophilus and Lactobacillus Bifidobacterium which are both included in those fancy brands at the store advertised to help improve digestive health.
1/2 cup powdered fat free milk (to make thick yogurt)
Directions:
1. Measure 42 ounces of 2% milk (homogenized would also be just fine) pour into saucepan.
2. Measure 1/2 cup powdered milk and pour into saucepan and stir in well with wisk.
3. Clamp candy thermometer to inside of saucepan and turn on heat to medium setting.

4. Stir regularly and watch. You are going to "cook" this milk up to 180 degrees F and then quickly remove from heat to cool. You'll know when it's getting close because the milk will froth a bit and climb the sides of the saucepan like so.

5. I place mine into a sink of cool water and stir to help it cool quickly to 110 degrees F.

6. While the milk is cooling, I measure approximately 7 ounces of the store bought plain yogurt that contains active and live cultures in my measuring cup or pitcher.


7. When I am sure the milk has cooled to between 100 and 110 degrees F, I add about 16 ounces of it to the yogurt and mix well, then I pour the rest of the milk into this mixture and stir until well mixed.

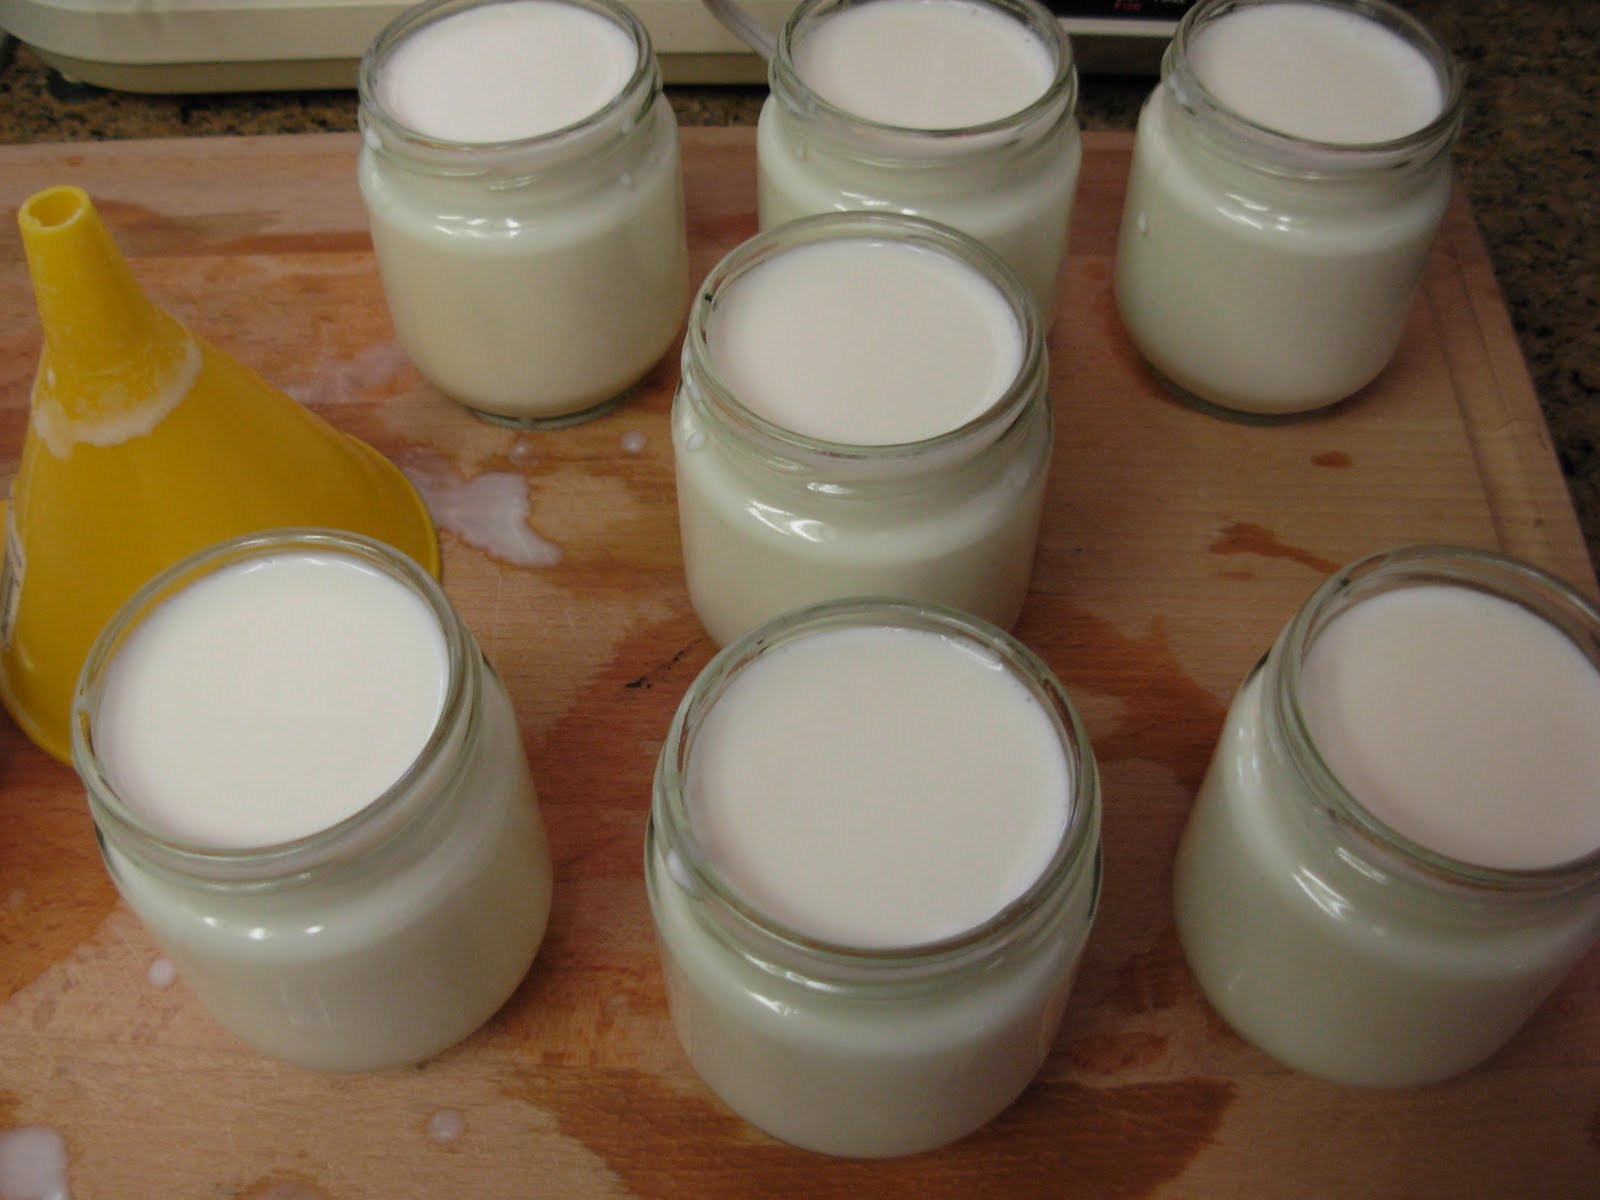
8. Now, I pour the mixture carefully into the glass jars for my yogurt maker (cleaning jars as I go) and set the timer for 7 hours.
I have watched quite a few Youtube videos demonstrating people successfully culturing their yogurt in saucepans in the oven (this only works if your oven can maintain an inside temperature between 90 and 116 degrees Fahrenheit, perhaps on the "warm" setting. Mine won't go below 200 degrees F.) If your oven DOES maintain a warming temperature between 90 and 116 degrees F, then you can pour your yogurt mixture into your saucepan and set your timer for 7-10 hours (depending on how firm you like your yogurt). The longer you culture it, the firmer it will set, up to about 12 hours, maximum. Refrigerate immediately. My yogurt recipe book says it keeps for up to a week in the fridge (no chemical preservatives added) and you can use 7 ounces of this yogurt (plain) to culture your next batch!

9. Add fresh fruit, honey, or flavor extracts after its been refrigerated for at least three hours for best results.
The picture at the top of the post is the finished yogurt from this batch. I added my homemade strawberry jam and fresh whole strawberries. It tastes amazing!
FYI- At 90 degrees F yogurt cultures are not active, at 116 degrees F or higher- they die.
That's all there is to it! Enjoy.
No comments:
Post a Comment
My email address is whitewolfsummitfarmgirl@gmail.com.