Showing posts with label ornaments. Show all posts

Tuesday, December 20, 2011

Easy Batting Snow Angel

Photobucket
     Here's another fast and fun snow angel ornament.  I made this little guy using leftover 80/20 quilt batting.  I stained it using a solution of strong, dark tea in a spray bottle which I let sit and dry after I got it the desired antique looking color I wanted.  Just draw a snowman shape on paper, pin to batting, cut out shape, and sew all the way around your snow angel, stitching closed.  I then cut a small line into the back of the neck and stuff carefully with a pencil eraser through there.  Once stuffed, I sew a few loose stitches to close hole and cover the hole with a drop of hot glue and a 1" wide by 5" long homespun scarf.  I dot acrylic paint on the back of a small paint brush for the charcoal eyes,mouth and buttons.  Real buttons would look great too.  His nose was made by painting a toothpick tip orange.  I make a halo with inexpensive hardware store wire and hot glue it to the back of the snow angel.  I make wings out of what I have available, this one has corrugated card stock wings.  I have used wire ribbon bows, spoons, silk leaves, and feathers before. They all look great.  Use your imagination. Embellish and enjoy.

Thursday, December 8, 2011

heart shaped snow angel ornaments

   Good day ladies!  It's time for another fast and easy Christmas ornament.  This snow angel was made by making a small cotton fabric heart (example is 2 and 1/4" wide by 4 and 3/4" long- plus a 1/4" seam allowance).  Turn, stuff, and stitch closed.  Her head is a small wooden ball painted white.  Her nose is an orange painted toothpick tip and her wings were made from heavyweight natural colored cardstock run through a paper corrugator.  The hanger is just medium weight hardware store wire that was wrapped around a pencil repeatedly to curl. The ends were pushed gently through the fabric and twisted.  I use what I have available when I make ornaments and I have been known to use wired ribbon bows, cinnamon sticks, or greenery for the wings and I've used burlap or pink tulle for the bodies before too.  Use your imagination, it's fun to think up new ways to decorate ornaments.  I think making the body from a wooden angel would be so super too.
I am linking this post up to our Virtual Christmas Ornament Swap.  Check it out to get even more ornament ideas.    and...

Tuesday, December 6, 2011

Virtual Christmas Ornament Swap- Get a few new ideas here

     This is just a reminder, for those of you that have not yet heard.  Like the button above says, we're having a VIRTUAL Christmas ornament SWAP and YOU are INVITED to participate!

It's a BLOG HOP designed to allow you to show off your creative side by sharing an image and tutorial or story about a Christmas ornament you like to make and swap OR have received at Christmas.
     I am a Christmas ornament junkie.  Over the years, I have made and given away literally hundreds of angels, snowmen, santas, and the like.  I LOVE making and giving them away so I will be sharing quite a few of my own ornaments.  I encourage you to share your favorites too.  I hope to see gingerbread houses and gingerbread men, santa claus, reindeer, candy canes. sugarplums, elves, snowmen, and who knows what else. We era only limited by our imagination.  Happy crafting.

Rules-
1. Any medium, any style- sewn, quilted, glued, painted, beaded, WHATEVER! So long as it's a Christmas ornament.
2. Please grab the button and post it to your wall so more folks can see it and be inspired to participate too.
3. Link AS MANY ORNAMENTS as you like, the more the merrier.  I love new ideas!
4. Have FUN and get your workshop hopping!

& Esther's Hearts 4 Home Thursday Blog Hop

&
homemadefortheholidays2011

Fun & Easy Kid-made Wreath Ornament

My son made this when he was in primary school.  As you can see, he glued old puzzle pieces together to form a wreath.  His teacher painted them green and he added the little sprig of foliage, a bell, and bow.  Other kids added small red pom poms, gold stars, etc.  The sky is the limit.  Bottom line, this is a FUN and EASY family ornament that you and your kids or grandkids can make from that old puzzle that's missing pieces.

I am linking this post to my Virtual Christmas Ornament Swap!  Please check it out for more ornament ideas.
Thanks for visiting, I hope you stop by again. I like comments.

Monday, December 5, 2011

Christmas Tree Ornament

Who doesn't like making yo-yos? I love em.  They're so cute in any craft project.  I have made yo-yo doilies, yo-yo covered quilts, a yo-yo vest, even a yo-yo ornament. it's so cute and it could not be easier to make.  This is a true beginner ornament.  Just make and string together seven or eight different sized yo-yos on a strong thread like pearl cotton, I usually start with a bead for a trunk and finish with a button and a small painted wooden star.  Knot it off and leave some thread for a hanger. That's all there is to it.  I started out with a few rows of 3" finished width yo-yos and decreased a 1/2 inch or so every two yo-yos made.
This post is lined up to the Virtual Christmas Ornament Swap HERE!

Sunday, December 4, 2011

My Handmade Tin Star

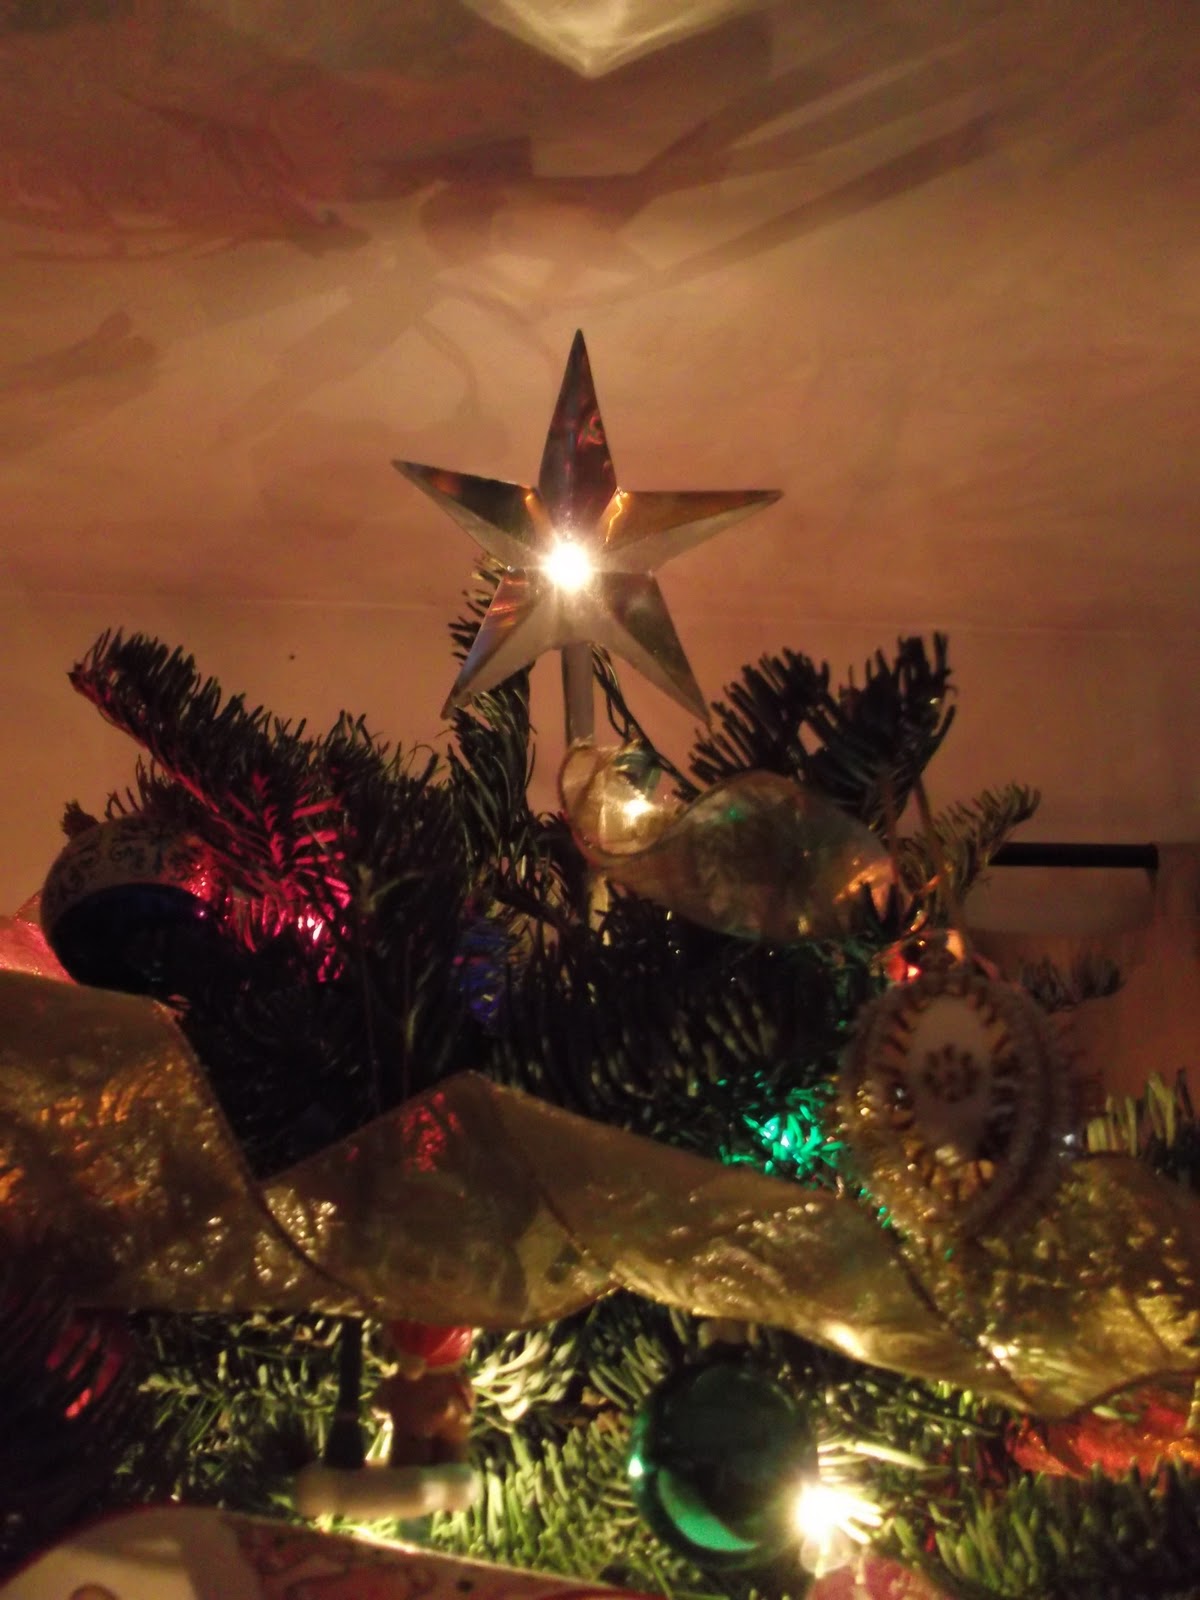
My wonderful hubby promised me a handmade tin star to top my noble fir Christmas Tree and he didn't disappoint.  Here it is...
and here's my "handyman" hubby Jerry
You may not be able to tell in this picture, but he even punched a hole in the center so he could insert a light.  It shines so pretty and reflects so many colors.  I love it!
I liked it so much and I knew my Mom and my B.F.F. Michelle would like one too, so my sweet hubby made them each a tin star tree topper as well...  I wonder how long it will take my Michelle to figure out that it's done???  Blogaholics that we are, I bet she'll be over real soon to get her star...
Wishing you and yours a Very Merry Christmas!

My Chilly Snowman

     I am posting a series of my favorite handmade Christmas ornaments to my two blogs, White Wolf Summit Farmgirl & My Simple Country Living.  I only have a few followers on my new WWSF blog, so I am sharing my favorite snowman ornament to BOTH blogs today so everybody gets a chance to see and make him.  I have made dozens of this little guy over the years, he's always a great gift for a teacher or for a friend's Christmas Tree.  I sew using 1/4 inch seam allowances.

BODY- Make his body by drawing a triangle with a 3 1/2" base and a height of 4 1/2" from an 80/20 quilt batting. You can either sew the entire triangle closed and cut the top off to turn and open, OR- cut the top off before sewing and just sewing the two sides and base, leaving the top open for the head to go through.  Either way, you will need to have an opening at the top that's wide enough for the head to fit into.
   
HEAD- Make his head by drawing a rectangle about 1 1/2 " wide by 2 1/2" long.  Round the corners to shape him a bit.  Sew. Turn. Stuff firmly with Polyfil.  I pin and machine sew bases. I insert head into body and add a few beads of hot glue or whipstitch head to body to secure.  If I am making WIRE ARMS, I attach the head AFTER I have inserted and secured the wire arms.

STOCKINGS- I draw stockings about 2 1/2" long with a high contrast fabric and sew.  I leave top open and stuff.  Leave top edge raw, do not turn under.  Attach to body with a few hand stitches.  Loo at my examples below and you'll see I have attached a few to the front of the bodies with cute buttons for fun and I sometimes attach them to the back with no adornment.

ARMS- I have tried many things for arms. I have used tea-stained muslin and black floral wire (I like it because it ages and rusts a bit over the years). Both look great.  To make muslin arms just draw 2 1/4" long arms and cut and sew them from the muslin, turn and stuff.  I keep the top edges raw again and sew to body. To make the wire arms, I just try to shape them like branches and then run the wire through the side into body and twist a small circle inside to hold it tight.

SCARF- I use homespun plaids for the scarf.  I cut them 1" wide by 5 1/2" long and I fray an 1/8" edges by pulling out a few long threads.  I wrap the scarf over the raw edged arms, dabbing as bead of hot glue over each arm to be sure the scarf does not slide away from covering raw edges.

HEAD COVER- For earmuffs- Hot glue a thin ribbon and small pom poms to either side of your snowman's head for these cute earmuffs.  For hat- cut small wool or acrylic circle and sew it to his head. Attach button or foliage for embellishment.

FACE- Micron Pigment ink pen, a dot of white acrylic paint inside eyes, and blush on a Q-tip for cheeks.

NOSE- I paint a toothpick bright pumpkin orange, cut the tip off, and hot glue nose to face.

Other EMBELLISHMENTS- I sometimes tea-stain the cotton batting and muslin.  I stain them by soaking for a few hours in hot tea steeped on my stove, and hand drying and pressing the fabric. I don't press the batting, just try to flatten it before it dries.  I also sometimes add a few small square "patches" to the snowman's body using a cure plaid and a heat n' bond or wonder under.
     I look forward to seeing what YOU can do to spruce him up!
Thanks for visiting, I hope you stop by again. I like comments.

Saturday, December 3, 2011

Homemade Christmas Ornament #2 Primitive Angels

     These little prim angels are a family favorite.  They're fast and easy and as yo can see from the examples above, I make them up with what I have on hand.  Who doesn't love using up leftovers?
     To make these little angels, I just draw a pattern for the muslin heads and gunny sack bodies on paper, cut out 20 sets at a time, and sew in an assembly line.
Head- The head pattern shapes were made by drawing a skinny triangle about 5" long and 2" wide at its base.  I shape the top (head) area by rounding and softening it's shape, so it looks like a head and has an obvious neck.  I add a 1/4" seam allowance, sew in an assembly line, turn them out and stuff them with leftover polyfil.  I whip-stitch the bottoms closed.  It will be stuffed into the body "sack" later.
Body- To make the body sack, I just estimate how long and wide I want the body to be and add a 1/4 seam allowance to the rectangle.  I just measured one and it's about 5" tall and 4' wide at its base including seam allowances.  I sew up both sides and the base, but leave the top open and I do not finish top edges, I want them rough.  Turn.  Add a bit of stuffing if you like.  Handsew a running stitch along top about 3/8" from edge and insert head.  Draw thread taught and knot it closed.  I always a add a few more stitches to lock head into body sack.
Wings- As you can see, I use what I have.  Raffia, wired ribbon, hammered copper, whatever medium available.  I attach them either with wire, hot glue, or strong thread, depending on the medium.
Hair- I have used doll hair, raffia, cut up wire brillo pads in the past.
Face- I use Pigma micron thin waterproof pens to draw faces.  They never run.  I also use old cosmetics ie: cheek color and a Q-tip to apply cheek color to angels.
Embellishments- I add cute buttons, ribbons, bells, bows.  I run a pearl cotton thread through head for tree hanger.  They can be scented with cinnamon oil or clove oil too. Enjoy!

This ornament is linked to Deborah Jean's Dandelion House 
 & 


Thanks for visiting, I hope you stop by again. I like comments.

Monday, November 28, 2011

Virtual Christmas Ornament Swap

     Just like the button above says, we're having a VIRTUAL Christmas ornament SWAP!  It's a BLOG HOP designed to allow you to show off your creative side by sharing an image and tutorial or story about a Christmas ornament you like to make and swap OR have received at Christmas.  
     I am a Christmas ornament junkie.  Over the years, I have made and given away literally hundreds of angels, snowmen, santas, and the like.  I LOVE making and giving them away so I will be sharing quite a few of my own ornaments.  I encourage you to share your favorites too.  
Rules-
1. Any medium, any style- sewn, quilted, glued, painted, beaded, wired- WHATEVER! So long as it's a Christmas ornament.
2. Please grab the button and post it to your wall so more folks can see it and be inspired to participate too.
3. Link as many ornaments as you like, the more the merrier.  I love new ideas!
4. Have FUN and get your workshop hopping!